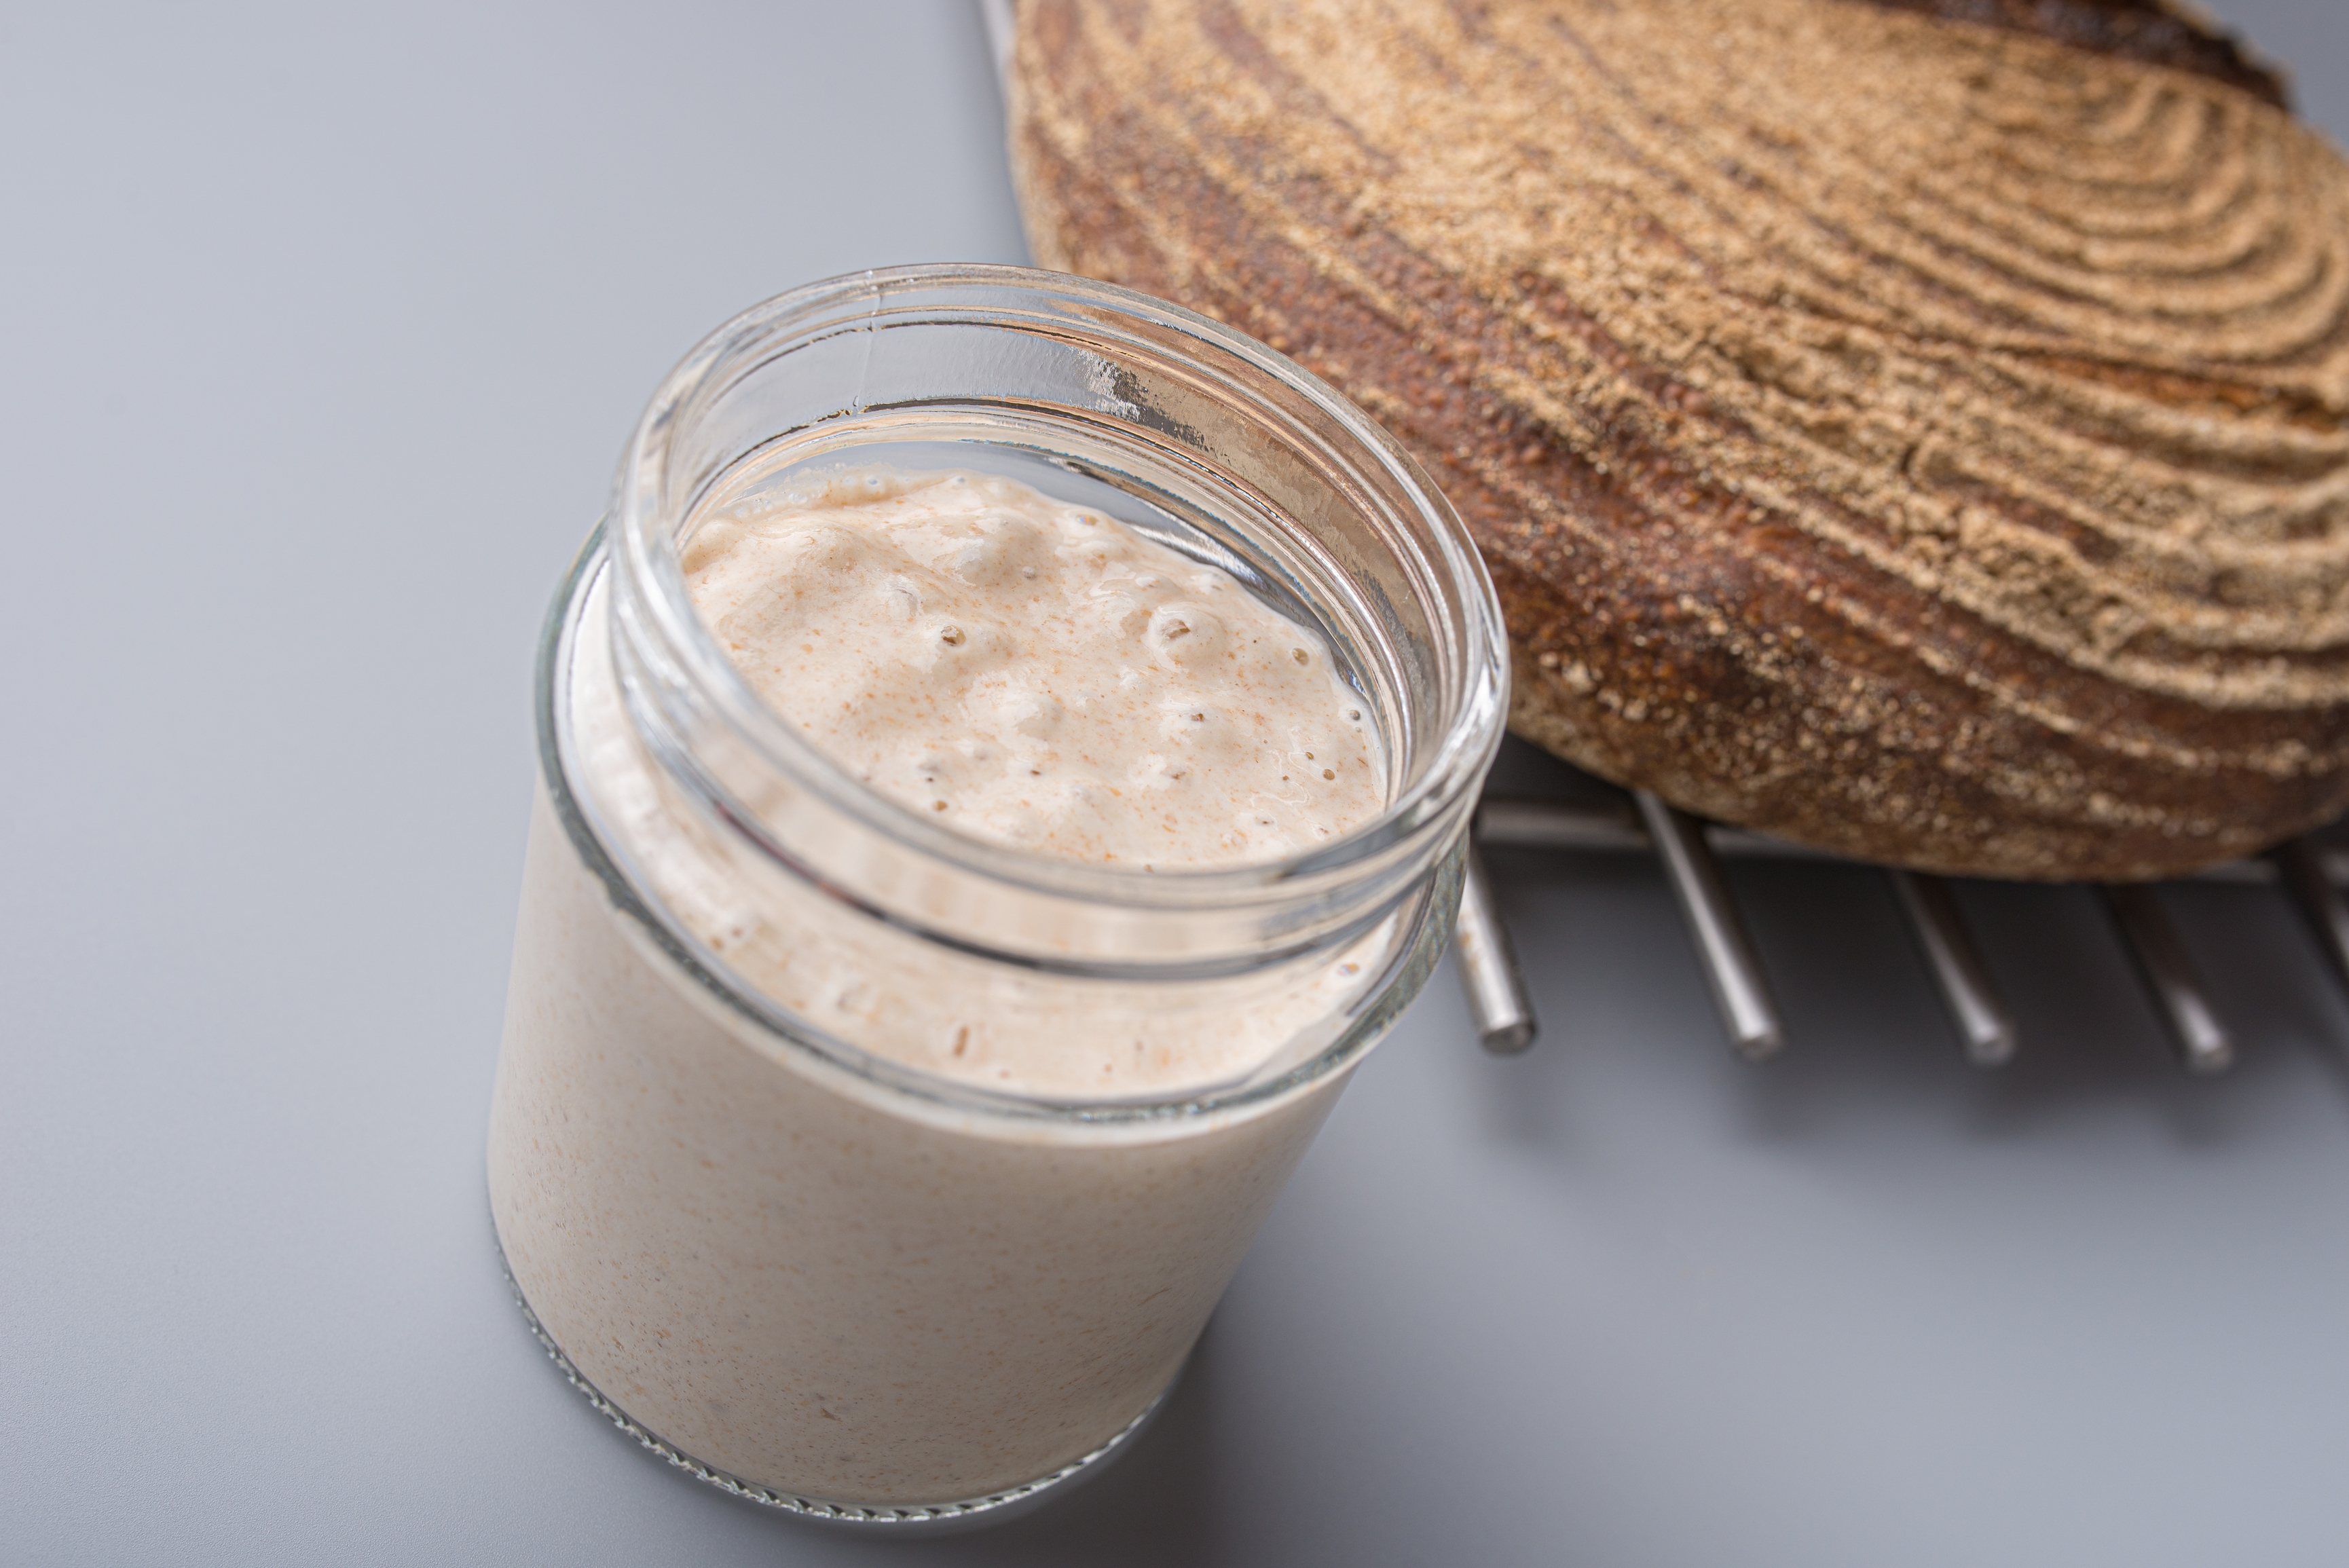
Brett Noy’s Multi Award Winning Sourdough Starter was used to make this culture. (Glass Jug Not Included)
There are two ways you can get your hands on our sourdough culture:
- Pay Shipping: If you prefer the convenience of having the sourdough culture delivered to your doorstep, we can arrange shipping for a nominal fee. Simply order it here and our team will ensure that the culture is dried, carefully packaged and sent to you, ready to jumpstart your sourdough journey.
- Visit Our Warehouse: For those who prefer a more hands-on experience, we invite you to come to our warehouse in Browns Plains with a clean empty glass jar and collect your free sourdough culture in person. Our friendly staff will be thrilled to meet you and share some expert tips and tricks to help you get started on the right foot.
This sourdough culture comes with award winning pedigree!
It is used in Brett’s multiple award winning bakery (Uncle Bob’s Bakery) on a daily basis.
It was used by Brett when competing in the Artesian Baking Cup held in 2007 in Melbourne. Needless to say Brett won first place and the cup!
In May 2008 the cup was won by Brad Clapham (Brett’s second in charge). Brett declined participation in 2009, being captain of the Australian Baking Team competing in international competitions. Now you can work with an award winning culture, right in your own kitchen! Comes with full A-Z instructions.
In March 2014 Brett came third in the world bakery masters.
Because Brett’s recipe produces fairly wet dough, it is best to proof/bake this in a bread tin.
You can also proof the dough in a proofing basket and bake it on a tray or a baking stone.
Instrutions
RE-ACTIVATION INSTRUCTIONS
• Open sourdough culture sachet and place into a clean bowl
• Add 50ml of warm water (~30C) and mix together well (at this stage it may contain some small lumps which is normal)
• Cover bowl and store in a warm place (25-30C) for 24 hours
The temperature is critical when re-activating your starter, as rapid acid and yeast production by the bacteria is a deterrent to possible contamination from organisms in
your Flours. The culture loves temperatures between 25-30C
1ST FEED
To the bowl add 100g of bread Flours [do not use ready mix!] and 100ml(g) of warm water and blend well. At this stage you may want to transfer your developing starter to a clear 1- 1.2l bottling jar, so you can easily monitor your starter’s progress. Keep in a warm place (25-30C) for up to 24 hours.
STEP TWO
To re-feed your culture, remove all but 200g of starter from the previous stage and add 300g of bread Flours and 300g of warm water and blend well. (or smaller/larger amounts in the same proportions).
Repeat STEP 2 until your starter is fully activated.
Your Culture is “Fully Activated”, when it is able to double itself after a single feed
[expected doubling times: @30C 6hrs, @ 25C 8hrs, @20C 12hrs)
[If used frequently ie 3-4 times/week the “doubling” times will reduce]
At this stage you have a few options:
• You can use (part of) it to start making your batch of bread
• Store (the remainder of) your culture for future use. Feed with 100g of Flours and 100g of water. Leave mixture for approx 1hr at room temperature, then store in the fridge If there is a (future) problem with excess acidity or contamination, read the section on washing a culture. Once activated, the wet cultures should be refrigerated. After a period of refrigeration a viable culture will have a layer of clear brown liquid on the surface. This is normal. It should be stirred back in when the culture is next used. You are now ready to start making your sourdoughs. You normally use (part) of the contents of your stock jar to build a sponge, which will be the base
for your final dough. We recommend building enough sponge, so you will have enough leftover stock, which can again be refrigerated. This method ensures your stock is refreshed as frequently as possible. Therefore, there is no need to keep large quantities of stock.
BACKUP
We’ve all done it (including Brett!). In a moment of in-attention you accidentally wash out your bowl/jar that contains your entire stock/starter for next time! For backup purposes, it is best to create a (very) stiff dough. Take some of your fully activated stock and add sufficient Flours to create a fairly dry dough. Once activity is noted, place it in an airtight container in the fridge or the freezer. [Replace every 3-4 months]
If (or when) calamity strikes, you’ll have something to fall back on.
Simple Sourdough Bread (Pantry Mama’s Recipe
Link Below To Pantry Mama’s Page
https://www.pantrymama.com/how-to-bake-simple-sourdough-bread/
Ingredients
1:-Weigh out your sourdough starter and water into a large ceramic or glass bowl. Glass is always good as you can see what’s happening underneath your dough. This recipe is based on you having an active starter that you have fed a few hours before starting your bake.
Mix the water and starter together briefly. Then add your Flours and salt and mix altogether with the end of a wooden spoon. The dough will be fairly shaggy and only just brought together (see photo). You might wonder how this will turn into bread, but just wait, time is your friend and the dough will change in around an hour.
Cover your bowl with cling film or a damp tea towel and let it sit for around 1 hour. It’s ok if it’s a little bit longer, it’s not going to matter too much.
This process is called the “autolyse” and allows your Flours to soak in all the water and become hydrated.
FORMING UP YOUR DOUGH
2:-After the dough has been through autolyse you need to bring it together into a ball. You’ll notice that the dough is fully hydrated after soaking all the water up. It will be fairly sticky but as you bring it into a ball, it will become smoother and shinier.
Work your way around the bowl, grabbing the dough from the outside, stretching it up and over itself until a smooth ball is formed. You shouldn’t need more than about 20-25 folds to form the ball.
Once the dough has formed into a smooth ball, pop the cling film back on and let it rest for 30 minutes.
STRETCH & FOLD – CREATING STRUCTURE
3:- Over the next few hours you need to create some structure for your dough by “stretching and folding”. Aim to do around 4-6 sets of stretches and folds. For each set, stretch the dough up and over itself 4 times. Leave around 15 minutes in between each set. Again you do not have to be exact with time, but you need to do at least 4 sets over 2 hours.
I like to be fairly liberal with my timings as I am generally cooking amongst the chaos of family life and therefore sometimes timing does go astray!
It’s up to you whether you want to do these in the bowl (less messy) or take your dough out onto your bench top and do it there. Do whatever you’re more comfortable with.
If you are going to do the stretch & folds on your bench top, spray your surface with water mist rather than using Flours.
4:- Once you’ve finished your stretch and folds, place the cling film or damp tea towel back over your dough and let it rest and ferment. The time this takes will depend on the temperature in your home. If your home is warm then your dough will ferment a lot faster and could be done in as little as a few hours.. If it’s colder, it will take longer, possibly overnight. I would recommend that you try to do your first few bulk ferments during daylight hours so that you can watch your dough closely. Once you’re more familiar with the process – and the temperature of your home – you will be able to do overnight ferments.
You will know your dough is ready to move to the next stage when it has *just* doubled in size. It will be fairly wobbly and full of bubbles. You should be able to see large air bubbles under the surface of the dough. You don’t want to let it go any further than doubled as it will be overproofed.
If you want to do an overnight ferment, but your home is warm, consider using a little less starter (ie 25g). Less starter means your dough will take longer to ferment and you will reduce the risk of overproofing your dough.
5:- Once your dough has finished it’s first ferment, it’s time to form it back into a ball and give it some shape and surface tension. You’ll need to Flours your counter top with rice Flours for this (we use rice Flours because it has no gluten). Try to be quite sparing with the rice Flours, you only need a very light dusting.
Use a silicone dough scraper to gently ease the dough out of the bowl. You want it to land upside down on your counter so that the smooth top of the dough is on the countertop and the sticky underside is facing up. This will make it easier to shape.
You want to pull the edges of the dough into the centre and then flip it over so that the sticky side is now underneath. Using the stickiness, gently pull the dough into a tight ball.
You will need a banneton to put your dough into. If you do not have a banneton, then a bowl or basket lined with a Floursed tea towel is perfectly fine. Make sure your bowl isn’t too big though, you want your dough to retain some shape.
Whatever you’re using needs to be liberally Floursed with your rice Flours. If you’re using a banneton – liberally sprinkle it with rice Flours. If you’re using a cloth or tea towel, rub the Flours into it to ensure it becomes non stick.
There’s a video below to show you how to shape your dough.
7:- Lift your dough around the edges to pop a little more rice Flours if you feel it needs it. Just try to handle the dough as little as possible and be really gentle as you really want to preserve all the gases and air bubbles that have formed during your bulk ferment.
8:- Now your dough is in it’s “shaping container” cover it loosely with a plastic bag or damp tea towel and place into the fridge. I use a large plastic bag to cover it – I just reuse it each time. It’s not totally essential to cover it – you can place it in the fridge uncovered if you’d prefer.
Try to leave it in the fridge for a minimum 5 hours up to a maximum of around 36 hours. The longer you leave it the better your bread will be! A longer cold ferment creates beautiful blisters on your crust and a deeper sourdough flavour. It will also ensure your dough forms a skin which makes it easier to score.
9:- Once you’re ready to bake your sourdough, you’ll need to preheat your oven to 230C/450F. Place your Dutch Oven into the oven when you turn it on so it gets hot. Try to preheat for around 1 hour to ensure your oven is super hot – but you know your oven so just adjust this time if you need to.
Leave your dough in the fridge until the very last minute – placing a cold dough into a hot oven will give you a great “spring”.
10:- Now it’s time to bake!
When your oven is at temperature. Take your sourdough out of the fridge. Gently place it onto a piece of baking paper. If you use a banneton, you will have a nicely rounded shape. If you used a bowl, it will still have shape but may not be as round. Make sure that you make the baking paper big enough to use the edges as a handle to lower to dough into your Dutch Oven.
Gently score your bread with a lame, clean razor blade or knife. At minimum a large cross is sufficient, but you can get as artistic as you like. Try to score it fairly deep to ensure the dough opens up.
Carefully take your dutch oven out of the oven. Place the sourdough into the pot using the baking paper as a handle. Put the lid on and place into the hot oven. If you want to you can spritz your dough with extra water before you put the lid on.
BAKE TIME:
30 Minutes with the lid on at 230C/450F plus
10-15 Minutes with the lid off at 210C/410F
If you’re worried about the base of your bread burning, place a baking sheet on shelf underneath your Dutch Oven – it works!
11:- When you remove your dough from the oven, carefully remove it from the dutch oven as soon as possible and place on a wire rack to cool. If you prefer a less crusty loaf, wrap in a tea towel and let it cool under that. The tea towel will make the bread sweat a little and soften your crust.
If you’re worried about your bread not being cooked all the way through, turn the oven off and place your dough straight onto the oven rack. Leave the door ajar and let your bread rest there for a few hours.
Wait at least 90 minutes before you cut into your delicious loaf!
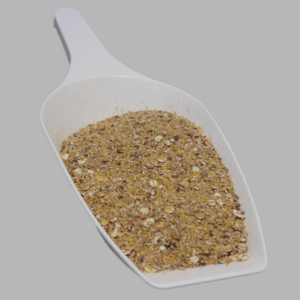
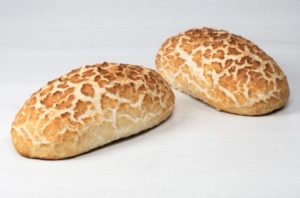
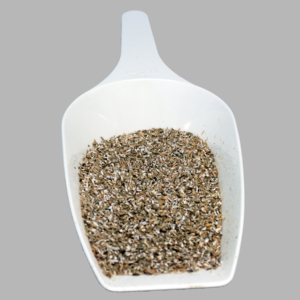
Picture For Illustrative Purposes Only
Pic Credit:- Photo 149330483 © Gajus | Dreamstime.com




Reviews
There are no reviews yet.